Step-by-step guide to set up the Email to Case process in the Dynamics 365 Customer Service module. This configuration allows incoming emails to automatically create cases in the system.
🔧 Prerequisites
- Dynamics 365 Customer Service license.
- Access to Microsoft 365 admin center to configure mailboxes.
- Global or System Administrator role in Dynamics 365.
- A queue-specific email address (e.g., support@yourdomain.com).
✅ Step-by-Step Setup: Email to Case in Dynamics 365
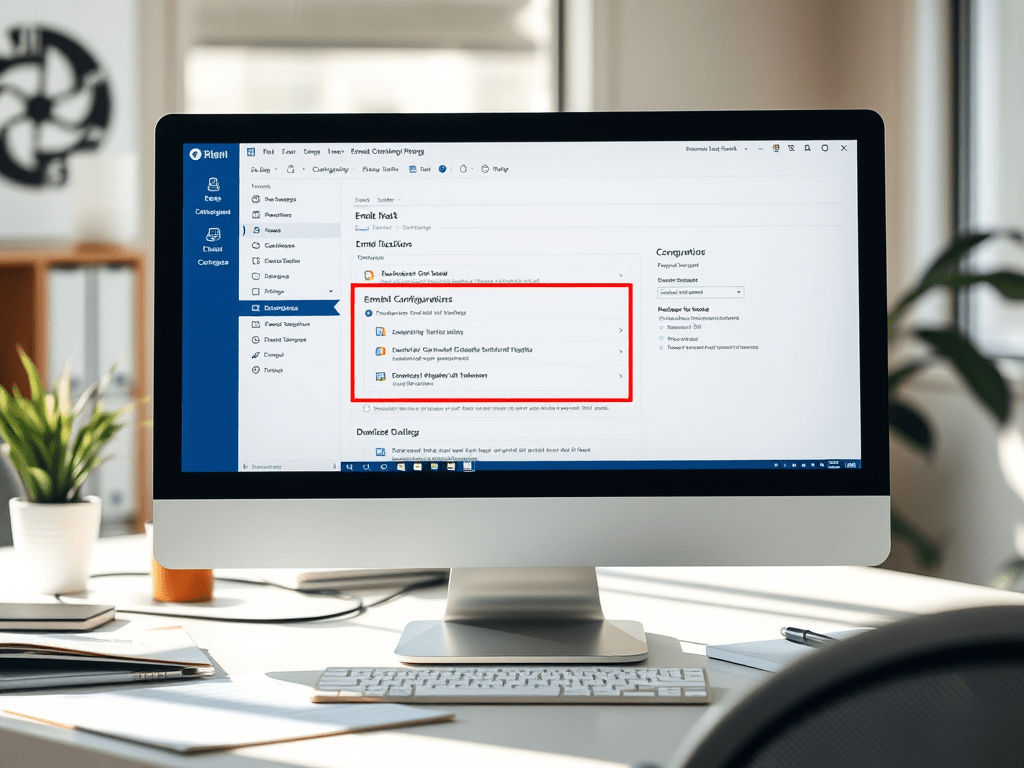
Step 1: Configure the Email Mailbox
- Go to Advanced Settings > Settings > Email Configuration > Mailboxes.
- Click New (or open an existing mailbox).
- Set the Name, and associate it with the User or Queue.
- Fill in the following:
- Email Address: support@yourdomain.com
- Incoming Email: Select Server-Side Synchronization
- Outgoing Email: Select Server-Side Synchronization
- Appointments, Contacts, and Tasks: Server-Side Sync (optional)
- Save the mailbox record.
- On the ribbon, click Approve Email > then click Test & Enable Mailbox.
✅ Statuses will change to Success after a few moments.
Step 2: Create a Queue with the Email Address
- Go to Customer Service Hub > Queues.
- Click + New to create a queue.
- Set values:
- Name: “Support Queue”
- Type: Public (so all users can access)
- Incoming Email: support@yourdomain.com
- Save the queue.
- Dynamics will automatically create a mailbox for this queue (if not already done).
- Open the associated mailbox and repeat Approve Email and Test & Enable Mailbox.
Step 3: Enable Automatic Case Creation
- Go to Customer Service Hub > Service Management (or via Advanced Settings).
- Click Automatic Record Creation and Update Rules.
- Click + New:
- Name: “Email to Case Rule”
- Source Type: Email
- Queue: Select your “Support Queue”
- Click + Add Rule Item:
- Name: “Create Case on Email”
- Condition: Choose “Email Subject contains data” (or leave blank to apply to all emails)
- Action: Create Case
- Click Save and then Activate the rule.
Step 4: Optional Settings
🔁 Create Case for Replies
- Within the rule item, check “Create case if no case is found for the activity”.
🔁 Set Case Owner
- You can configure the rule to assign the case to a specific user/team.
📂 Define Case Fields
- You can auto-populate fields like Case Origin, Title, Customer, etc., in the rule action.
Step 5: Test the Setup
- Send an email to support@yourdomain.com.
- Within a minute or two, check:
- Queue: New email should appear.
- Cases: A new case should be created with the email content.
📌 Additional Tips
- Enable Email Correlation: To track responses and keep emails linked to cases.
- CRM Token: Ensure outgoing emails include the CRM token (e.g., [Case:123456]) to track replies.
- Multiple Queues: Repeat the setup for different departments (Billing, Support, etc.).
🧠 Troubleshooting
| Issue | Fix |
| Mailbox status not updating | Check user credentials and Exchange profile settings. |
| Emails not converting to cases | Verify that the rule is activated and the condition matches. |
| Duplicate cases on email replies | Ensure correlation settings and rules are correctly configured. |

Leave a comment